Get Started
Enter the dashboard
Click on the Dashboard menu in the navigation bar.

Please click on Login with Google to login with Google
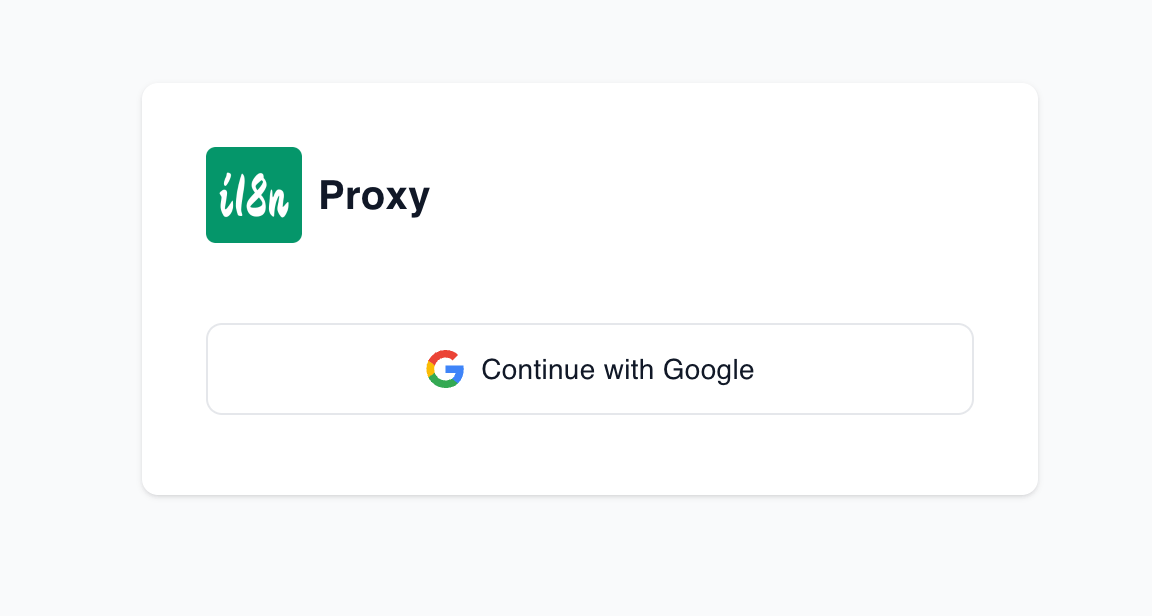
After logging, going to the Dashboard

Add Site
Click on ADD SITE to add a site
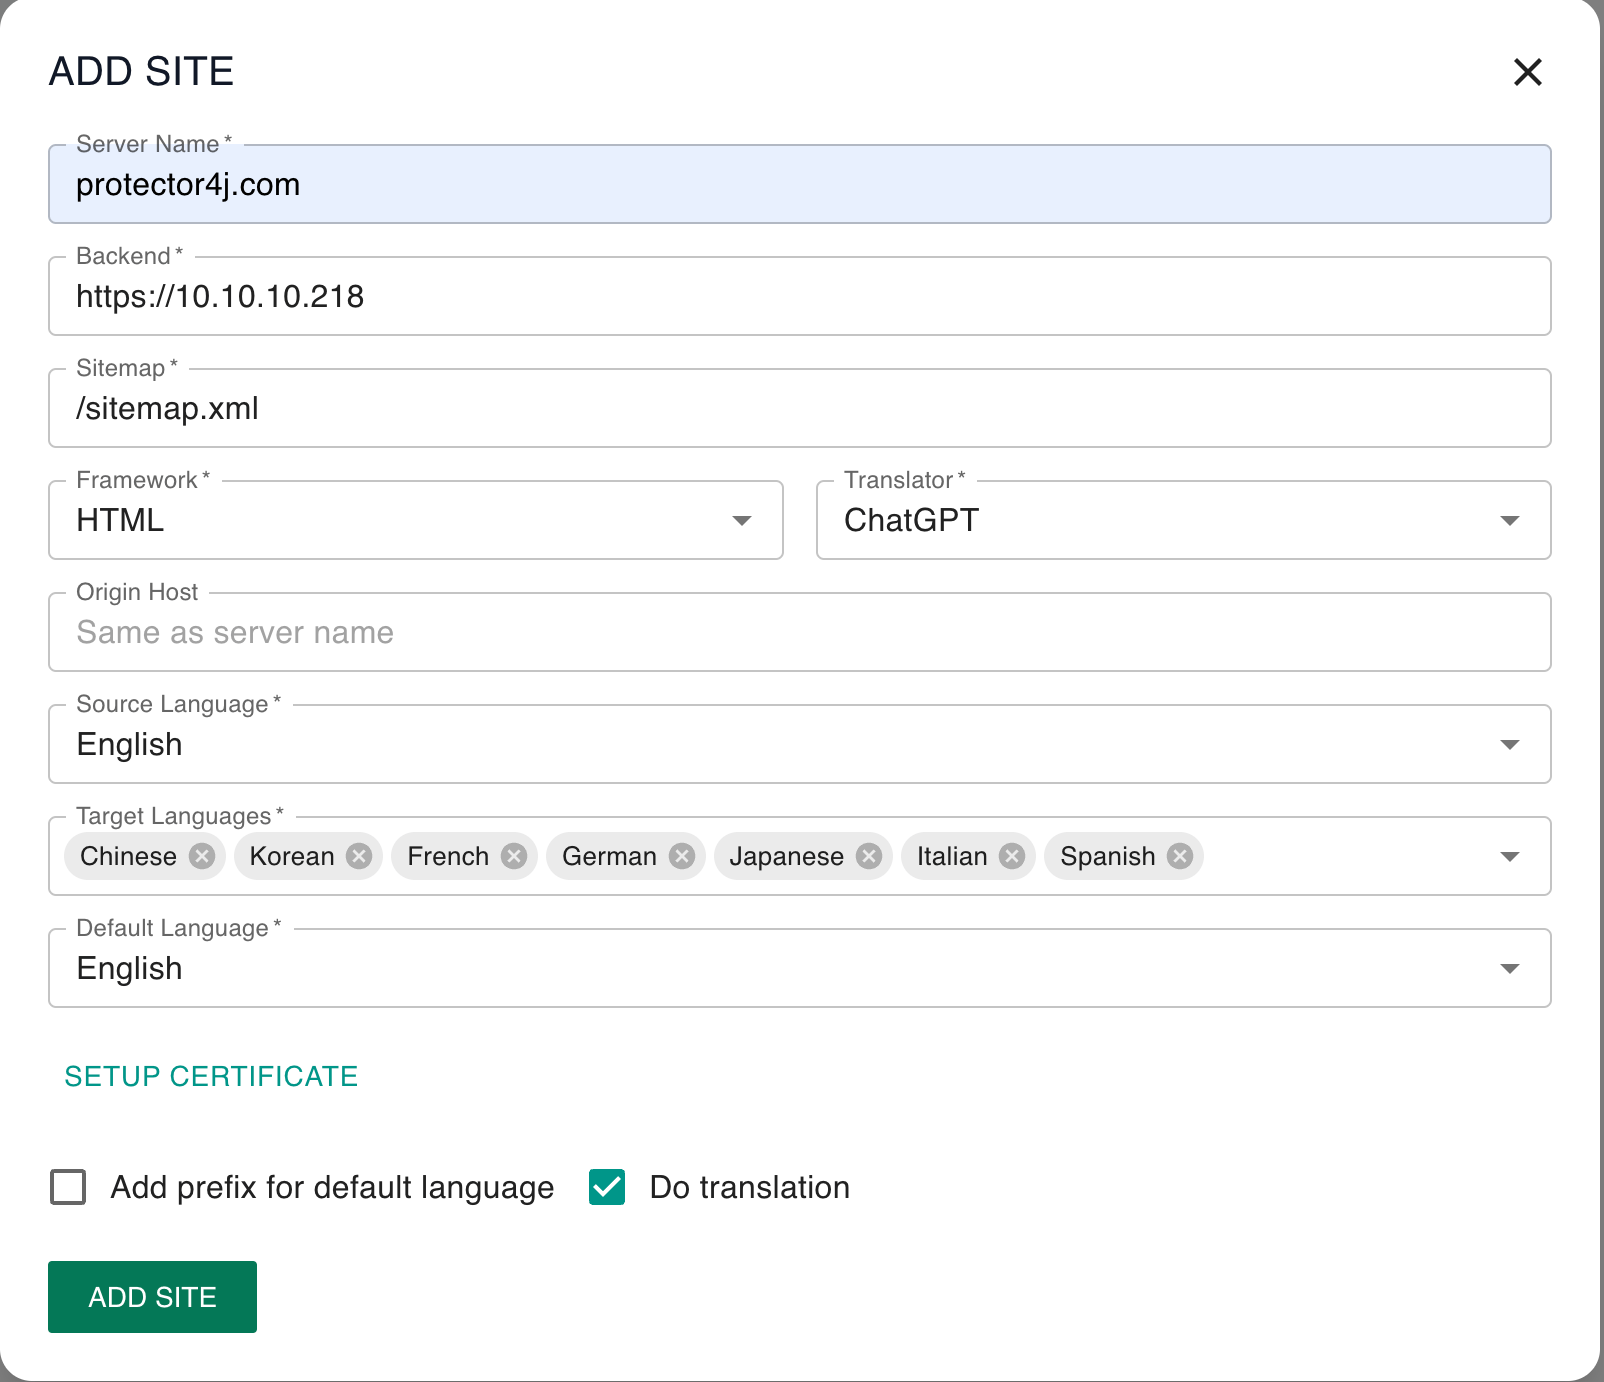
Parameters
1.ServerName
the domain name of the website
2.Backend
The complete backend URL, such as https://10.10.10.218, if only used for testing purposes, you can also directly enter http[s]://server-name to access your real website (then test by modifying the hosts file).
During the testing phase, the backend can use self-signed certificates.
3.Sitemap.xml
Specify the URI of your website's sitemap, such as /sitemap.xml. Only the URI is needed, not the complete URL. i18n-proxy will access each URL in sitemap.xml and translate it.
4.Framework
If it is a traditional server-side rendering architecture such as Wordpress, JSP, Spring Boot, etc., please choose HTML. If you are using a dynamic JS framework such as React, Vue, etc., please choose the corresponding framework.
5.Translator
Choose the translator you want to use, the translator will affect the quality and speed of translation. ChatGPT has slower translation speed but better translation quality as large language model. Google, on the other hand, has faster translation speed but lower translation quality most of the time.
6.OriginHost
The host name returned to the backend, by default it is the same as the server name.
7.Source Language
The source language of the website
8.Target Languages
The target languages of the website
9.Default Language
The default Language of the website, it can be different from the source language
10.Setup Certificate
If you need to enable HTTPS access, you will need to upload an SSL certificate. You can use acme.sh to generate the certificate. Here is a tutorial on how to generate certificates using acme.sh. If no certificate is set, HTTP access will be used by default.
11.Add prefix for default lanauge
When users access the website with the default language, whether to add a language prefix to the URL. If this option is not selected, when users access a URL without a language prefix, such as /download/, it will return in the default language. Otherwise, users will be redirected to a URL with a language prefix, such as /en/download/.
12.Do Translation
If this option is unchecked, i18n-proxy will work in a normal reverse proxy mode, the contents of the website content will no longer be translated.
Some adjustments need to be made for the backend website.
HTML Framework
HTML framework websites do not need to be adjusted specifically. i18n-proxy can automatically parse content for translation, but you can still add some classes to HTML tags to control the behavior of translation.
1. Do not translate.
<span class="notrans">Protecotr4J</span>
2. Translate by fallback translator
Sometimes when using ChatGPT to translate some content, it may not provide accurate output. In such cases, you can choose to use a fallback translator for translation. The default fallback translator is Google Translate.
<span class="fallback">Protecotr4J</span>
React
By default, i18n-proxy will automatically analyze the contents in React.createElement for translation. However, due to the dynamic nature of JavaScript language, we are currently unable to accurately retrieve all strings rendered on the HTML page. If your contents is not all translated, some adjustments need to be made in the source code of your application. The main content consists of the following three tags:
i18n
Add i18n tags to the content that needs to be translated, such as
i18n(Contact Us)Do not translate.
notrans(Protector4J)fallback
When ChatGPT is unable to translate accurately, use a traditional translation engine for translation. The default fallback translation engine currently used is "Google Translate".
fallback(Protector4j)Vue Framework
Coming soon
After the adjustment is completed, the website needs to be re-rendered and deployed.
If you no longer need to use our services in the future, we also provide a tool that can quickly remove the tags above and restore your code to its original state.
Begin the translation task
Enter the Dashboard, find the added site, click on "Begin Translation Task" to start the translation task.
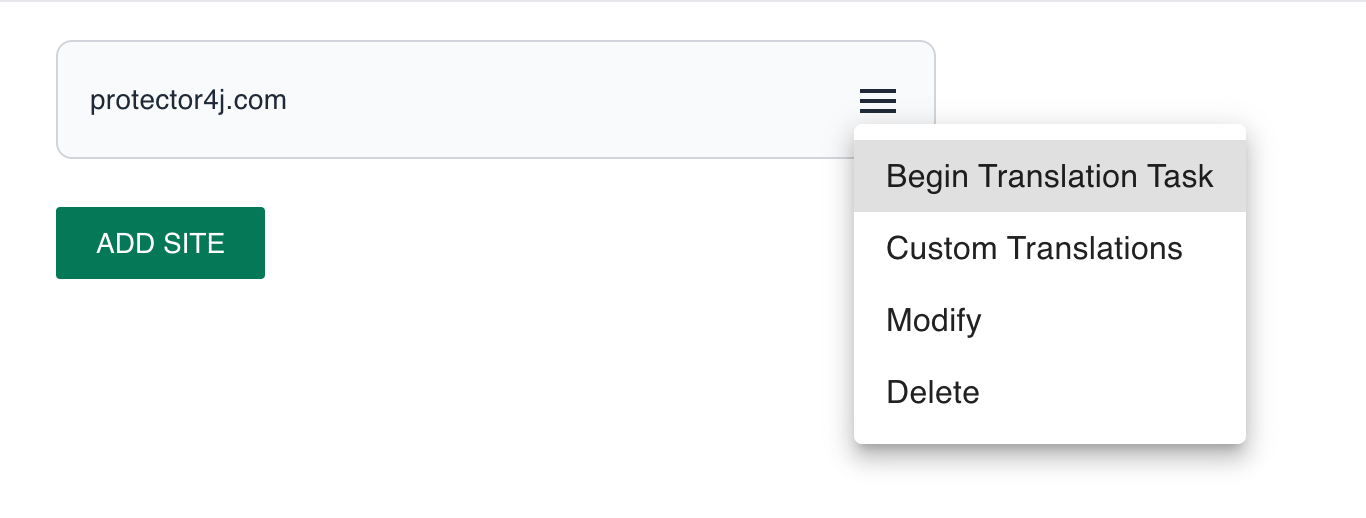
The translation task will run in the background. If it is the first time translating, depending on the size and contents of your website, it may take several minutes to several tens of minutes. After the translation is completed, the system will send you an email notification.
Visit the translated website
To access the translated website, the DNS record need to be modified. You can directly modify your records at your DNS service provider or modify the hosts file of your system.
Modify DNS record.
Please configure a CNAME record to point your domain name to site01.i18n.so.
Modify the hosts file.
Please add a record to point your domain name to 164.92.107.199.
Modify the hosts file on Windows.
Modify the hosts file on macOS.
Modify the hosts file on Linux.
Adjust Translations
If you are not satisfied with the translated content, you can also customize the translation for some parts.
Enter Dashbord, click on the site card, select Custom Translations.
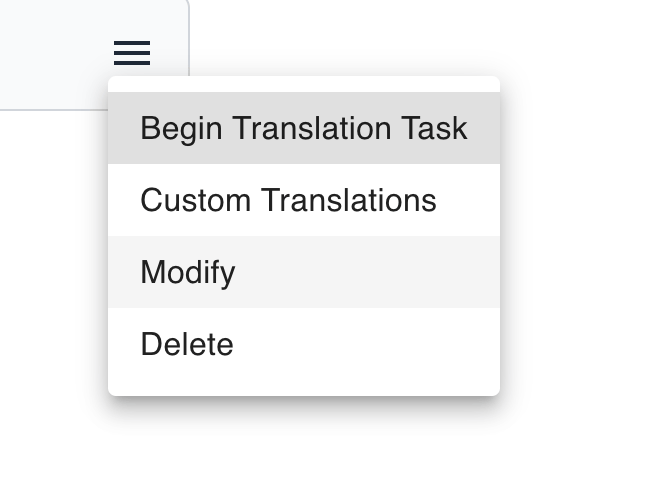
Select the target language that needs adjustment and enter the your custom translations.
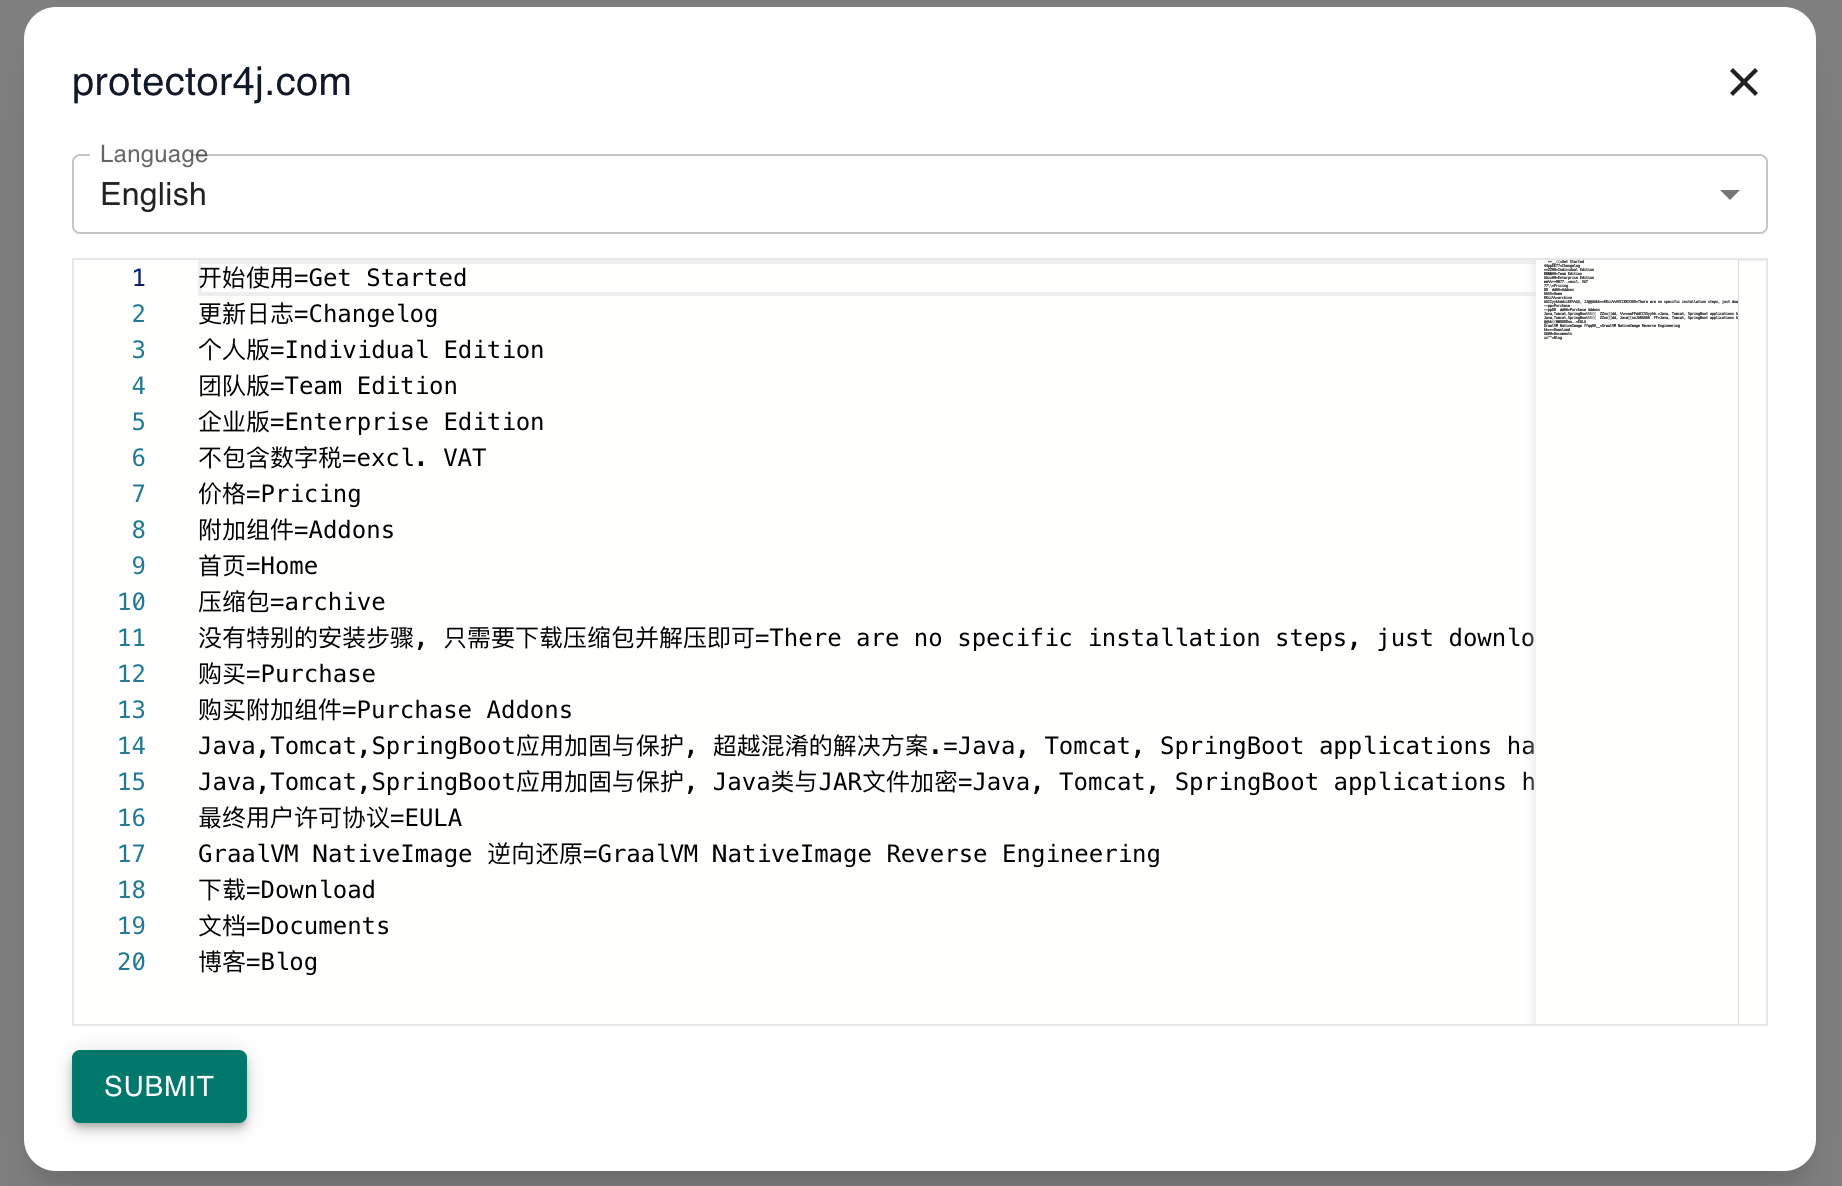
Reload translation.
For HTML frameworks, custom translated content takes effect immediately.
For JS frameworks, however, a reload of the translation is required, meaning that a new "Translation Task" needs to be performed. This time, only incremental translation will be done, which is much faster than the initial translation. However, it still requires accessing all your pages and re-rendering JS. Therefore, it may still take several minutes. You will receive an email notification after the translation task is completed.
Switch language
Switch language through URL
By returning the path with different language prefixes, you can obtain the corresponding webpage content. For example, /en/download and /zh/download. If the option "Add prefix for default language" is unchecked, accessing /download is equivalent to accessing /default-lang/download.
Switch language through Javascript.
If you want to create a language selector for language switching for users, please refer to the following JavaScript code implementation.
About SEO
All page content that has passed through i18n-proxy has been statically rendered and presented in HTML code format. Search engines can crawl the web page content you see, so this tool is very suitable for SEO of multilingual websites, especially for pages built using dynamic JS frameworks.
We have also added the alternative tag and canonical tag on each HTML page to facilitate search engine recognition.
<link rel="canonical" href="//protector4j.com/download/">
<link rel="alternate" href="//protector4j.com/download/" hreflang="en">
<link rel="alternate" href="//protector4j.com/zh/download/" hreflang="zh">
<link rel="alternate" href="//protector4j.com/ja/download/" hreflang="ja">
<link rel="alternate" href="//protector4j.com/ko/download/" hreflang="ko">
<link rel="alternate" href="//protector4j.com/fr/download/" hreflang="fr">
<link rel="alternate" href="//protector4j.com/de/download/" hreflang="de">
<link rel="alternate" href="//protector4j.com/es/download/" hreflang="es">
<link rel="alternate" href="//protector4j.com/it/download/" hreflang="it">
We have also generated corresponding sitemap.xml files in different languages. You can submit these sitemaps to search engines for indexing. The format is as follows:
 https://protector4j.com/sitemap.xml
 https://protector4j.com/zh/sitemap.xml
 https://protector4j.com/fr/sitemap.xml
 https://protector4j.com/ja/sitemap.xml
 ......
About the Deployment
We only provide hosting deployment during the testing phase, which means users directly access our server to obtain content. Later on, we will also provide independent deployment. You can deploy i18n-proxy on your own server just like using nginx。
Contact Us
If you have any questions, ideas or find any bugs, please feel free to let us know, the email address is: [email protected]